The Cycle of Life + Whole-Food Plant-Based Berry Scones with Lemon Hibiscus Cashew Cream

By Molly Patrick
Nov 16, 2019,
By Molly Patrick
Nov 16, 2019,
The driveway of one of my previous houses was lined with beautiful hibiscus flowers.
There must have been 20 of them, in all different colors. Some had bright yellow flowers, others were hot pink. Some were velvet red, and others were orange with red in the center. Some were a gorgeous mix of pink, purple and orange, and some were red and white. Some were pale lavender and others were peach. Some of the flowers were as big as dinner plates, while others were small like saucers.

The design and geometry of the natural world is more mysterious and full of wonder than I know what to do with. Each flower moved through a different color spectrum during the flowering process. When a bud would first open, it would be one gorgeous shade, and literally two hours later it would be an even more intense, jaw dropping shade (sometimes multiple shades).
The colors kept changing by the hour. When a flower had reached full bloom, it would then start to lose its color and close back up. When it was fully closed, it would die on the stem and then eventually, drop to the ground and go back to the earth. And then the process would begin again, taking one or two days to complete the cycle.
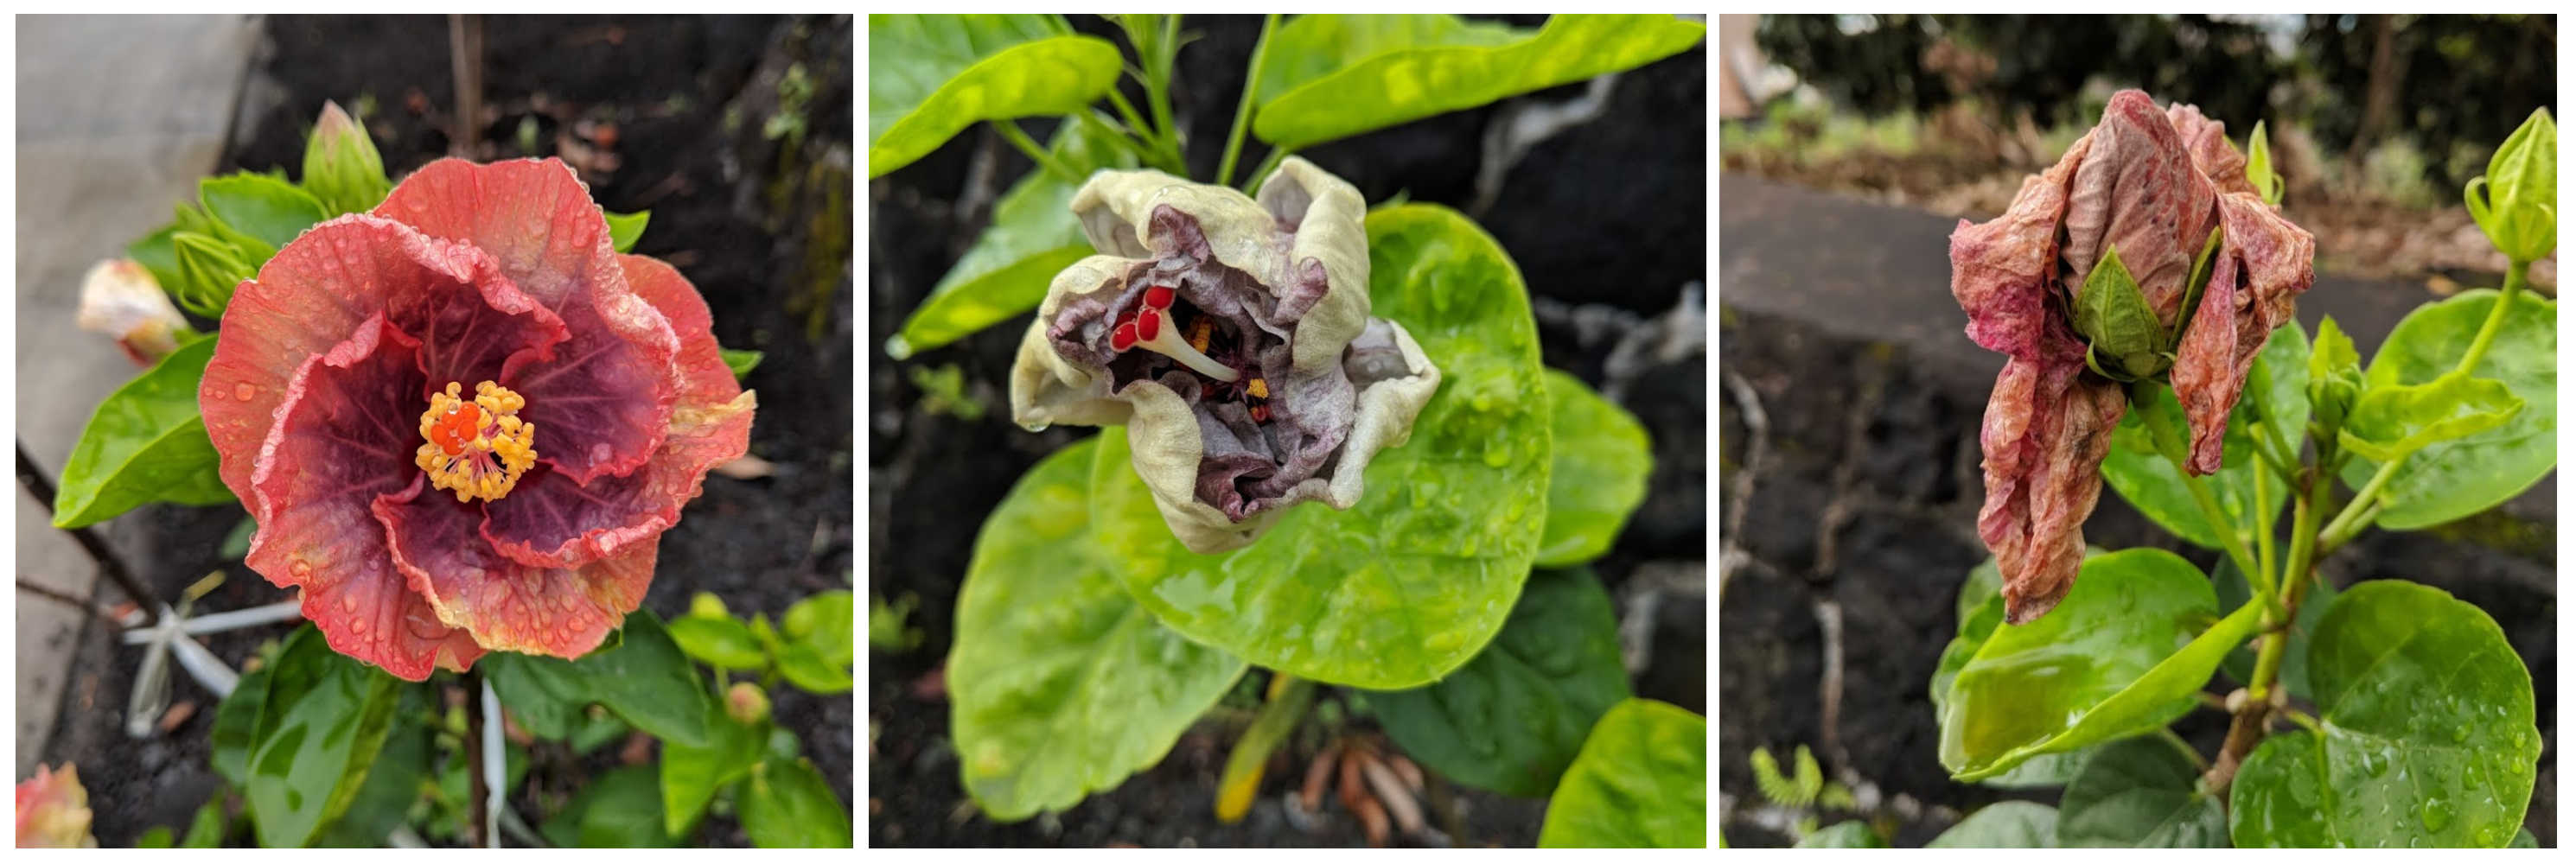
I was in awe. Of the magnificent flowers, yes. But also of the process of birth and death, the stages in between, and the stuff on either side. It all happened right before my eyes, and I got to witness it. Those flowers were more than flowers; they were life itself.
They were the seed of manifestation.
They were birth.
They were change.
They were death.
And then they went back to something else. A nest for a bird, mulch for the ground, food for bugs, compost for my kale garden – and round and round it goes.
Never once did I get mad or upset that the flowers would change and eventually die. I admired the beauty in the moment and accepted this cycle as the truth of life. Nothing was wrong with the flowers at any stage during their process – not when they were tight in their bud, not when they showed off their stunning beauty with all of their life force, not when they lost their color, not when they started closing back up. And not when they died. Everything was perfect – from start to finish.
Life is tragic sometimes, and painful beyond measure. It is packed with challenges so hard you can hardly breathe.
But hang on, because no matter what, things will change. It will look different soon. It must. And even in the whirlwind of pain’s grip, know that nothing is actually wrong. This is part of the ride of being human. This is how it goes.
There is birth and there is death and there is everything in between – from baby kittens to cancer – from ripe peaches to root canals. It doesn’t mean you have to love all of it or even like it. It doesn’t mean you can’t get pissed the hell off and scared shitless. It certainly doesn’t mean you shouldn’t feel any other way than exactly how you feel.
It means that even in your darkest days, there is hope. There is light. There is love. There are flowers. And everything is just as it should be.
Hang in there, my dear, things will feel different soon.

Ingredients
First make your Cashew Cream and get it chillin' in the fridge
Lemon Hibiscus Cashew Cream Ingredients
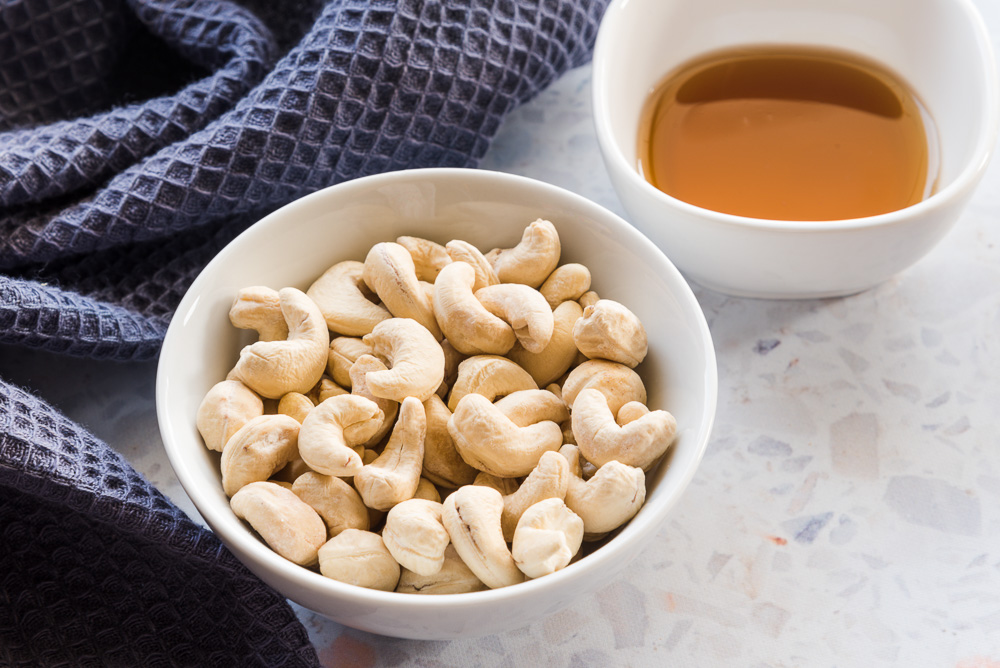
- ¾ cup raw cashews, soaked in water for 10 minutes (105 g)
- ⅓ cup hibiscus tea from two hibiscus tea bags (see Lemon Hibiscus Cashew Cream Instructions)
- 2 tablespoons maple syrup
- 1 teaspoon lemon zest
Now make your scones
Berry Scone Ingredients
- 1 cup chilled canned full-fat coconut milk (235 ml, see Note below)
- 2 teaspoons lemon zest
- ½ teaspoon vanilla
- ½ teaspoon apple cider vinegar
- 2 cups whole wheat pastry flour (240 g / see Note below / can use Bob's Red Mill 1-to-1 Baking Flour as a GF alternative)
- 4 teaspoons baking powder
- ½ cup coconut sugar (40 g)
- ¼ teaspoon salt
- 1 cup frozen berries (125 g)
Instructions
Lemon Hibiscus Cashew Cream Instructions
- Soak the cashews and set aside for now.
- Place two tea bags in a coffee mug. Boil some water and measure out 1/3 cup and add it to the coffee mug. Steep your tea for at least 10 minutes.
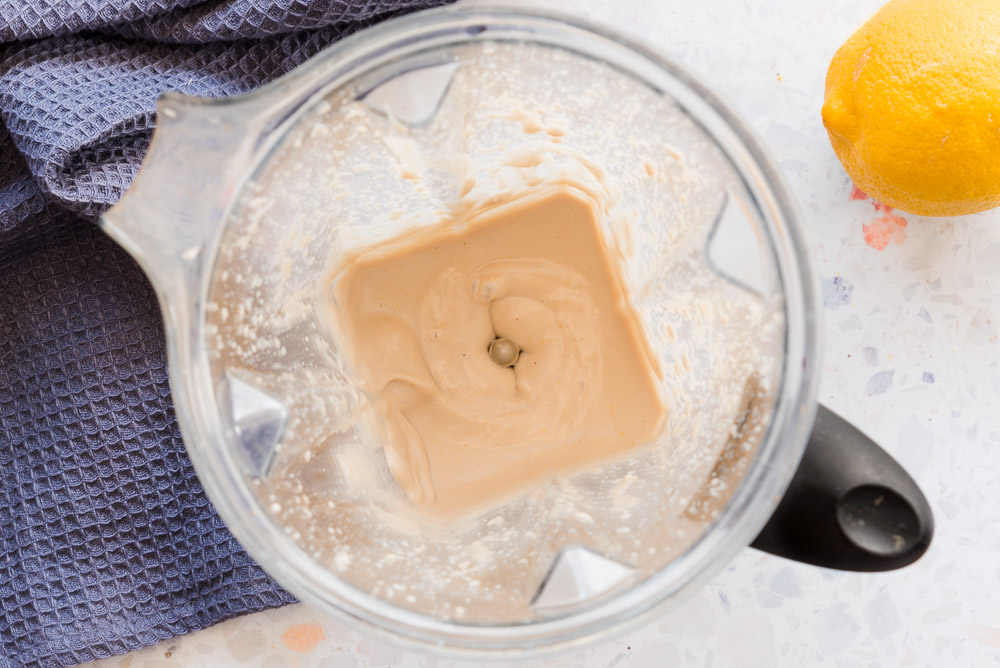
- Drain the cashews and discard the soaking water. Place them in your blender along with the maple syrup and lemon zest.
- Squeeze the liquid out of the tea bags into the coffee mug and discard the bags (or save them for a cup of hot tea). Add the tea to your blender and then blend the mixture until super creamy and smooth.
- Transfer to a storage container and refrigerate until you're ready to slather your scones.
Berry Scone Instructions
- Preheat oven to 425 °F (220 °C) and line a large baking sheet with parchment paper or a silicone baking mat.
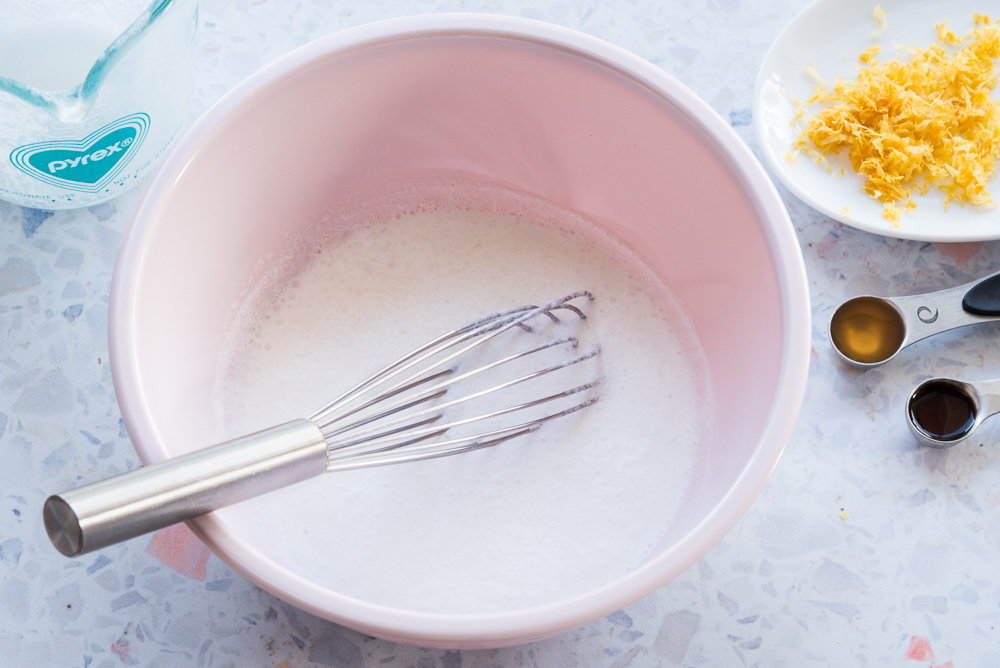
- Place the coconut milk into your blender and blend to combine it well, about 10 seconds. Measure out 1 cup of coconut milk and add it to a small mixing bowl along with the lemon zest, vanilla and apple cider vinegar. Whisk to combine and then set aside for now. Store the remaining coconut milk in your fridge or freezer for another time.
- Place the flour, baking powder, coconut sugar and salt into a large mixing bowl and whisk well.
- Add the coconut milk mixture to the flour mixture and very gently stir together with a wooden spoon. Gently fold in the berries until all the ingredients are mixed together.
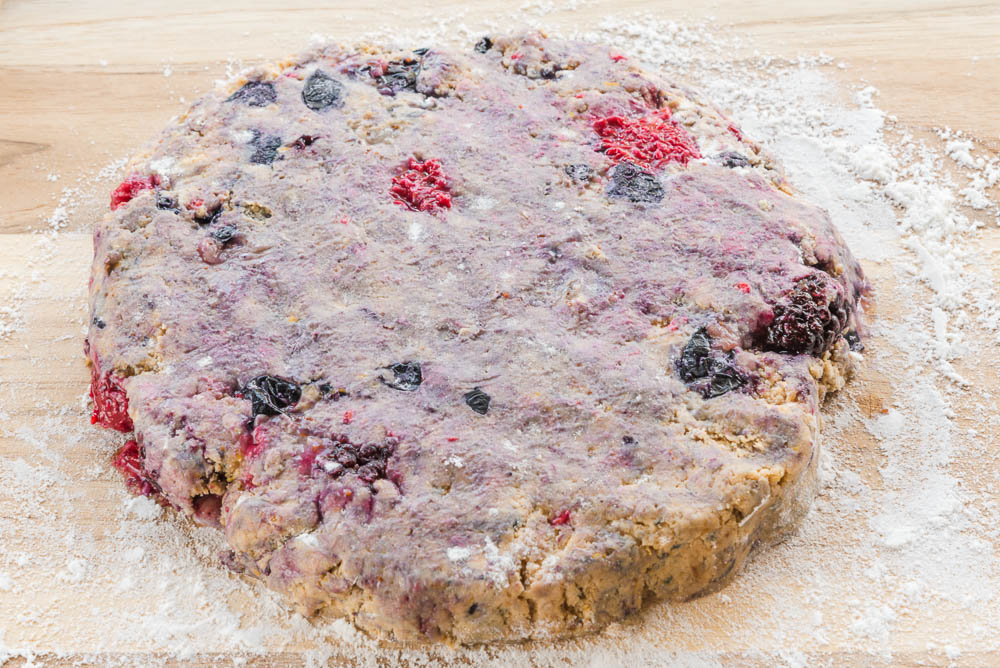
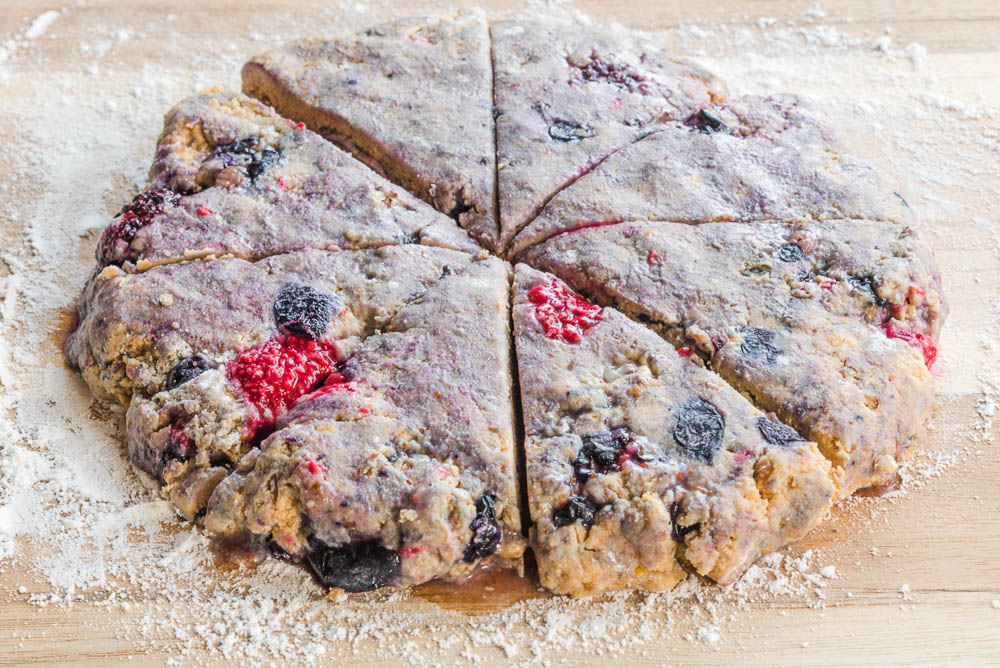
- Sprinkle some flour onto a dry cutting board. Use your hands to form the dough into a large, smooth ball. Place the ball on the floured cutting board and use your hands to gently flatten it to a circle, about 1” thick (2.5 cm). Cut the circle into 8 equally-sized wedges (like a pizza), using a large knife.
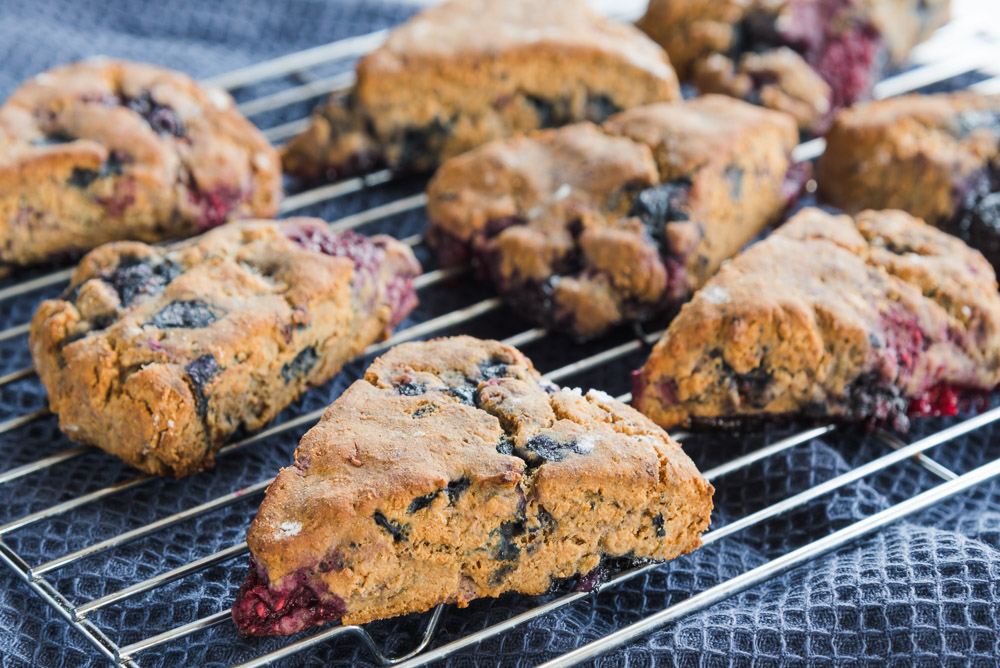
- Carefully transfer the wedges to your baking sheet, spacing them about 2 inches apart. Bake for 12 – 15 minutes until firm to the touch and golden brown on the bottom.
- Transfer to a cooling rack and cool to room temperature.
Drizzle or smother the Lemon Hibiscus Cashew Cream over the Scones before serving.
- Note: The canned coconut milk needs to be refrigerated overnight before making the dough. Blend the contents of the can in your blender for a few seconds to re-combine, then measure what the recipe calls for.
- Note: Too much or too little flour can make a major difference in how this recipe turns out. The most accurate way to measure flour is using the gram weight. If you don’t have a food scale, follow these steps for the most accurate measurement: First, use a spoon to fluff up the flour in the bag. You want to get some air in it. Next, use the spoon to lightly sprinkle the flour into your measuring cup, slightly overfilling it, then slide the edge of a knife across the top of the measuring cup to level it off. (Do this over the bag opening so the excess flour goes back into the bag.) Add the leveled measuring cup of flour to your mixing bowl.






Wishing you a happy week. May it be filled with acceptance.
Xo
Molly
19 Comments
Leave a Comment
Love the food that loves you back
Get instant access to thousands of plant-based recipes and meal plans, no credit card or perfection required.






Thank you. This blog is exactly what my heart needed today.
Lots of love headed your way.
xo
Molly
Hi Molly,
Absolutely love your blogs!
This made me cry (as many of your articles do)
My 88 year old mother was just diagnosed with Alzheimer’s ?
Your article was on spot with perfect timing,
Thank you
Hi Agnes,
Thank you for sharing. Sending you lots of strength and love.
That is such a hard diagnosis.
You and your sweet mom will get through.
xo
Molly
I am looking forward to using this recipe when family is in town. Yay you!
And the whole cycle of life in a flower is such a powerful example of our own time here on earth. I am so glad that I am a gardener – it helps with all kinds of life challenges; birth, thriving, illness, disease, nutrition, over/under watering, sun exposure, decline and death.
Thanks for sharing those beautiful blossom pics.. It reminded me of rafting on the Hanalei river and all the blossoms floating on the surface. Lovely.
Cheers to gardening!
I am a total beginner, but I plan on doing more of it.
xo
Molly
Molly dear ~ your writing today about life thru death was absolutely beautiful and spot on! I will treasure this post and share it with a friend of mine who is currently struggling with the grief of a lost spouse. For some reason, telling the story of the life circle of a flower makes things seem so clear. You truly have the gift of story telling and teaching others the importance of having hope, even in the darkest hour. You touched my heart today!
Most importantly of all (in my world) hibiscus flowers are tortoise food! ? ? nom nom nom which is why I have planted several.
yes! Our tiny Moe loves hibiscus!
I read this article a few weeks ago, but keep coming back to it to make a list of ingredients to make the scones. And sadly, 1 of my cats needed to be put down unexpectedly over the weekend. Cycle of life, but so bummed. I made the scones yesterday, they came out great!
We are all animal lovers here (and have had or currently have the love of pets) and know your sadness, Ellen. Thanks for sharing on the scones, so glad they turned out great! ~Karen
I’m so sorry about your fur friend.
I had to put down my kitty, Panda a few years ago.
I know the feeling.
My heart goes out to you.
xo
Molly
P.S. Here’s a piece that came out when Panda was put down.
Beautiful comfort food and tea party but does anyone know how much cashew butter I could sub in the frosting to save a step and time?
I would try 3/4 cup!
I’ve made these scones several times as written, but today I made them with some rehydrated dried peach pieces (soaked in boiling water and drained) instead of berries, cinnamon instead of lemon zest, brushed the tops with leftover coconut milk, and pressed an indent in the top to add apricot preserves. Needless to say, they are FANTASTIC!
Yum! We’ve got to try this variation, it sounds delish!
<3
For those of us who cannot use coconut what is a good substitute?
Thank you!
You could try cashew cream to substitute for coconut milk and date sugar to replace coconut sugar. We haven’t tested this recipe with substations, so we can’t provide exact amounts or directions. Please let us know how it turns out!
Just made these for afternoon tea. Delicious! Easy to make!
I love scones but haven’t made them until today.
I subbed white whole wheat flour because that’s what I had.
Thank you, Team Dirty!!