The Podunk-ness Continues – Kitchen Tools I Can’t Live Without Part Two + Oil Free Refried Beans (Instant Pot + Stove Top)

By Molly Patrick
Dec 6, 2016,
Last week, I gave you my first 5 most important kitchen tools and on this beautiful day, I’m giving you my next 5.
Last week I also told you that Luanne calls me Podunk Mol because I claim her old underwear as my own instead of buying new ones. All I can say is this one’s gonna get a lot of mileage over in our private Facebook group. If you want in on laughing at me, join us here (it’s okay, I’m laughing too).
To refresh your brain, the first 5 kitchen tools that I’d be hard pressed to live without are:
- Blender
- Salad Spinner
- Fine Mesh Strainer
- Instant Pot
- Steamer Basket
Here’s the roundup of my next five. Some items are brand specific, some aren’t. I’m not being paid to mention any of the following items. These are just what I happen to use.
6: Pots, pans and skillets
This is non-negotiable.
How many pots and pans you need depends on how many people you’re cooking for. It’s nice to have a variety of sizes and styles, especially if you don’t use a microwave to heat up your food. Some people swear by microwaves and some people think they’re the devil. I wouldn’t call them the devil, but it’s definitely not the most natural way to heat up food. That said, if the most unnatural thing in your life is a microwave, you’re a damn golden unicorn, whose name happens to be BOSS.
Apart from heating up leftovers, a variety of pots and pans are necessary for any plant based kitchen. Stay away from aluminum cookware or anything with a teflon coating because both are harmful to your bod. You can buy teflon-free non-stick cookware, but I don’t know enough about the material they’re made from to make a recommendation.
I keep it old school with stainless steel and cast iron. The only oil in my house is the coconut oil I use to oil pull every morning (another fuckery altogether). So even in an oil-free kitchen, stainless steel and cast iron do the trick beautifully.
What I’m rolling with:
(I’m cooking for two people)
one cast iron 10” skillet
one stainless steel 12” skillet
one stainless steel 1 qt pot with lid
one stainless steel 2 qt pot with lid
one stainless steel 5.5 qt pot with lid
I bought my cast iron skillet for $5 from a yard sale (that’s not podunk, that’s plain lucky!) The rest of my pots and pans came with the house that I’m renting.
7: Food Processor
I use this angel of an appliance so much that the $100 price tag is totally justified. And this is ME talking.
This one tool will shave at least an hour off your batch cooking each week if you make use of all the different blades and functions. Between the S-shape blade, the grating blade and the slicing blade, you can prep all your veggies lickety split and you can blend thick recipes, like hummus, refried beans (recipe below) and cashew cheese in a blink. Those are some pretty lashes, you golden unicorn, you!
What I’m rolling with:
Cuisinart 9 cup from Costco for 10,000 pennies.
There are less expensive brands out there that do a good job. My mom still uses the $30 food processor that I bought her in 2003. And she uses it ALL the time.
8: Knives
I used to feel unsure about my knife collection, given that I’ve only ever had three of them. But then Jamie Oliver told me on Youtube that three different knives is all anyone needs. Sha-wing, my knifes were on point the whole time.
A chef’s knife, a paring knife and a serrated knife will do any cutting, peeling or slicing job in your kitchen. And if you don’t have a serrated knife, you’ll be fine without. I use my chef’s knife for 90% of all my cooking.
I use my paring knife for about 9.5% of my cooking and I use a serrated knife for approximately .5% of all my cooking.
There are a ton of brands to choose from. Buy one that’s in your price range and don’t over think it.
What I’m rolling with:
JA Henckels 8-inch chef’s knife
small paring knife
small serrated knife
I got my chef’s knife from Ace Hardware for $29. My paring knife was $5 from Target on sale. My serrated knife was $3 from Ikea.
9: Cutting Boards
A cutting board is 100% necessary. Having one big and one small cutting board is super handy though. Non-slip is also helpful so your cutting board doesn’t slide around the table as you’re chopping.
If you have a cutting board that slips around, place a kitchen towel underneath it before you start chopping, and it should hold it in place.
What I’m rolling with:
I have two plastic cutting boards that came with the house I’m renting. One is about 15 inches, the other is about 12 inches. They do the job.
10: Baking Sheet
A mortar and pestle sound way more cool than baking sheets, but the truth is, I use my baking sheets ALL THE TIME and I haven’t used a mortar and pestle in approximately two years. I got rid of mine during a move a few years back and haven’t replaced it yet. It’s been on my To Buy list ever since (a list that will obviously never have underwear, socks or bras on it).
A baking sheet paired with parchment paper or a silicone baking mat (see below) is a must if you don’t cook with oil because it creates a non-stick surface. Baked tofu, roasted veggies, granola and veggie burgers all cook perfectly without oil on a parchment covered baking sheet. If you get my meal plans, you know that I use this method a lot. Baking sheets are also handy for heating up leftovers. I recommend having at least two baking sheets in your kitchen.
What I’m rolling with:
I bought my Cuisinart rimmed baking sheet (10 X 15) from Ross Dress For Less for $9.99. I also have a bigger baking sheet that came with the house I’m renting.
11: Silicone Baking Mat
I used to use parchment paper on my baking sheets for no oil roasting. This was great, it worked. But I buy the non-bleached parchment paper and it gets pricey. Since I bought a silicone baking mat I have saved lots of money on parchment paper. I like that I can wash the mat and use it again and again.
What I’m rolling with:
Fat Daddios Silicone baking mat. Jen and Tamie, my two recipe and meal plan helpers / wizards both use a Silpat.
Okay, my golden unicorn – if I can get busy in my WFPB kitchen with just these 10 items, you’re all set to turn up the tunes and cook ALL the plants.
What are some of your must have tools? Talk to me in the comments below.
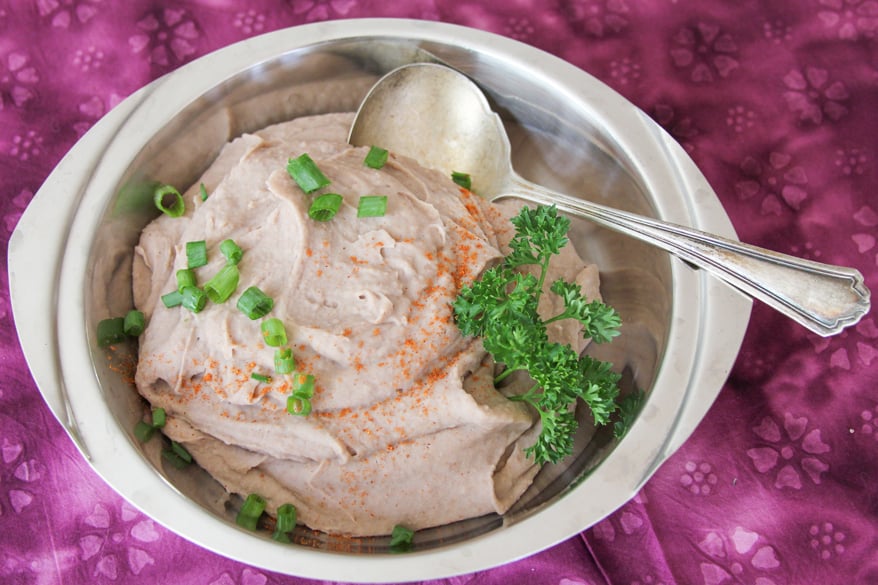
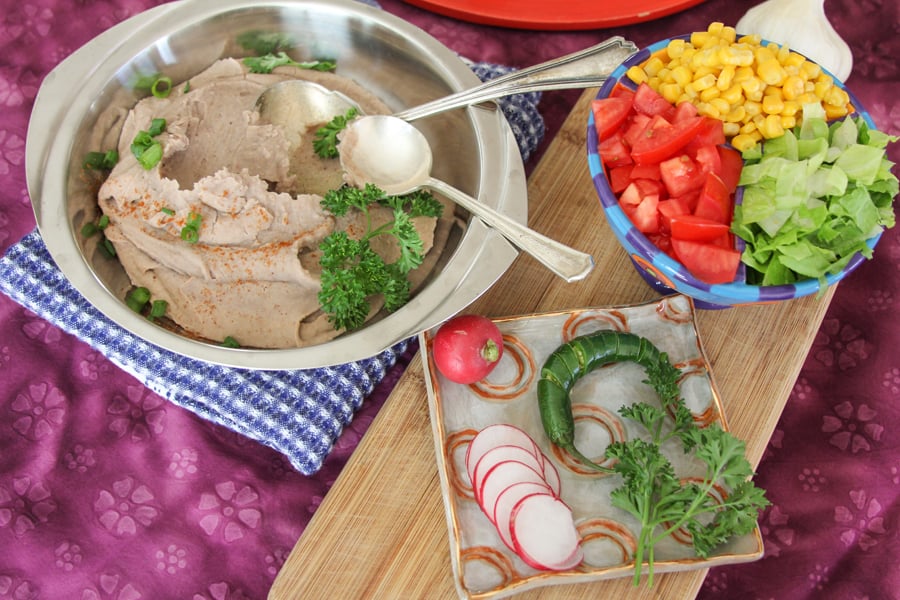
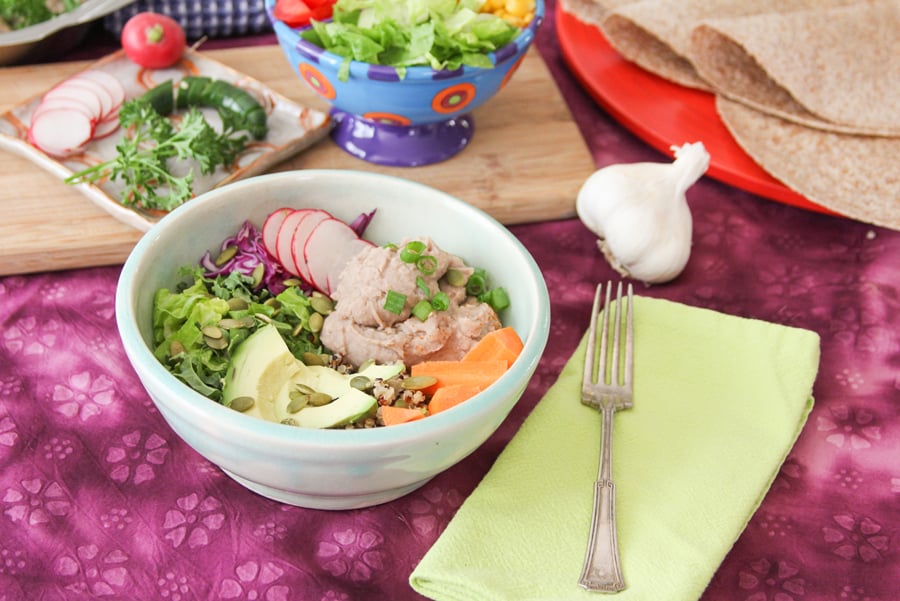
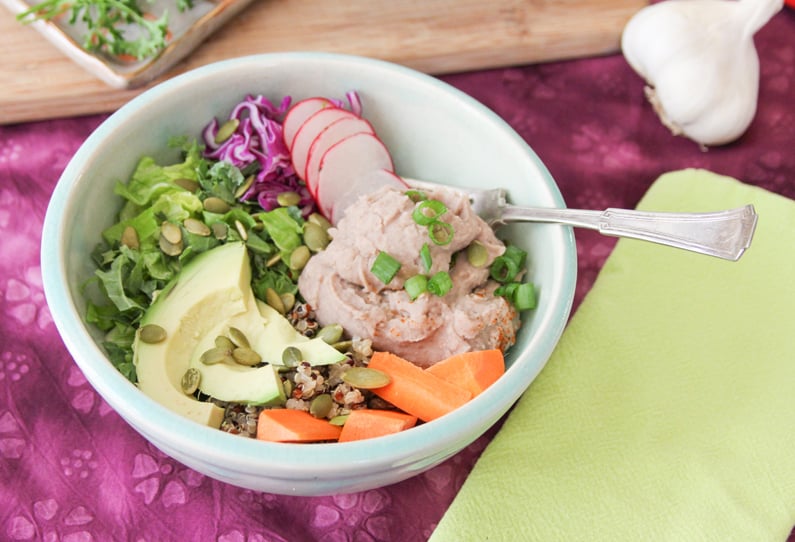
After today’s recipe, you’ll never have to buy refried beans in a can ever again (fun fact: when I was in high school, my best friend and I used to eat cold refried beans straight out of a can when we would get home late and drunk. #SuprisedIRemeberThat)
Looking for more amazingly delicious plant based recipes? Check out our plant fueled meal plans and take free a test drive of the trial meal plan.
Ingredients
Instant Pot Ingredients
- 1 cup dried pinto beans 185g, soaked in water overnight
- 1 cup water 235ml
- 1 teaspoon garlic powder
- 1 teaspoon onion powder
- ½ teaspoon salt
Stove Top Ingredients
- 1 cup dried pinto beans 185g, soaked in water overnight
- 5 cups water 1.2 liters / to cook the beans in
- 1 teaspoon garlic powder
- 1 teaspoon onion powder
- ½ teaspoon salt
- ¼ cup of water 60ml / to add to the beans when blending
Instructions
Instant Pot Directions
- Pour your soaked beans into a strainer and rinse them thoroughly. Tap the strainer against the sink, allowing as much liquid to drain out of the strainer as possible.
- Add the beans, fresh water, garlic powder and onion powder to the Instant Pot and stir. Lock the lid into place and set the timer for 20 minutes, using the manual setting.
- When the timer goes off, use the natural release method until all of the pressure is out of the Instant Pot. Take off the lid, add the salt and allow the beans to cool for about 10 minutes.
- Transfer the beans and the remaining liquid to your food processor and process until totally smooth.
Stove Top Directions
- Pour your soaked beans into a strainer and rinse them thoroughly. Tap the strainer against the sink, allowing as much liquid to drain out of the strainer as possible.
- Add the drained beans, fresh water, garlic powder and onion powder to a large pot and stir. Bring the beans to a boil, turn down the heat to low and cover the pot with a lid at an angle.
- Simmer for about 70 minutes, until the beans are soft and most of the liquid has been absorbed. Stir them occasionally so the beans don’t stick to the bottom of the pot. The key here is to simmer them on very low heat for over an hour. This will cook them slowly without the water evaporating too fast.
- When the beans are soft and there is very little liquid left in the pot, add the salt and allow them to cool for about 10 minutes.
- Transfer to your food processor, along with 1/4 cup of water and process until super smooth.


Wishing you a happy week. May it be filled with gathering the tools that you need to become the best possible version of yourself.
xo
Molly
3 Comments
Leave a Comment


New? Download your free Beginner's Guide and start the most delicious and rewarding journey of your life, fueled by plants.

Our mouthgasmic plant based meal plans are designed around batch cooking. Get your free Batching Handbook and dive in.

Get support on your plant fueled journey in our private Facebook group with non-judgy Dirties around the world. Nice, let me in!
Love the food that loves you back
Get instant access to thousands of plant based recipes and meal plans, no credit card or perfection required.
Hi Molly.
Do you have a payment plan for the January reset?
Thanks
Ramona
Yes we do. Both for Members and non-members.
Have a look here.
https://cleanfooddirtygirl.com/reset
Hey! This recipe is so fabulous. Better than refried beans I’ve made with oil. Way better! Thank you